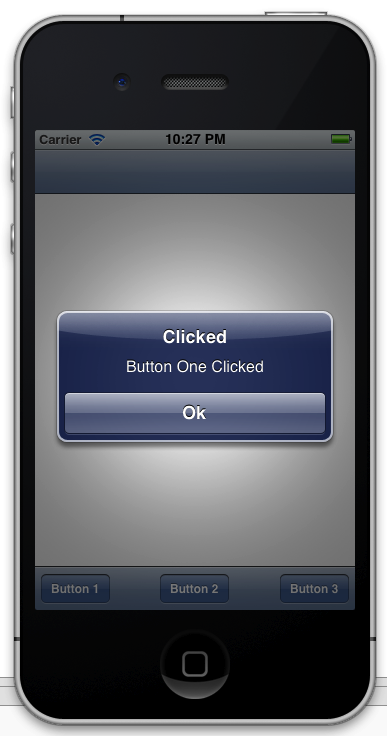
The UIToolBar and the UIToolBarButtonItem add a nice professional look to an app. Hooking the click event of the Bar Button Item can easily accomplished. The full MonoDevelop Solution for this sample can be downloaded at the bottom of this blog post.
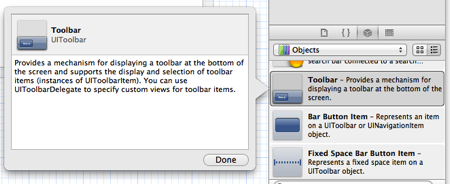
Add a UIToolBar to your .xib from Interface Builder.
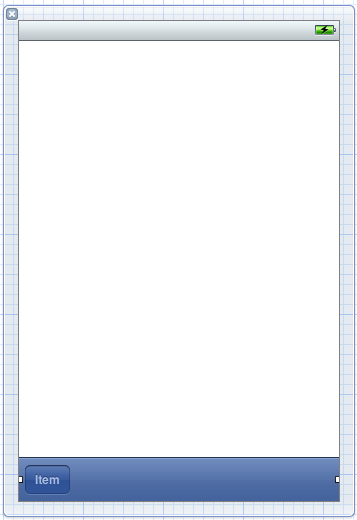
Your screen should look like this.
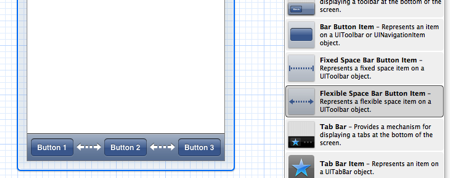
Add two more Bar Button Items to the UIToolBar. Double click each one and name them Button 1, Button 2 and Button 3.
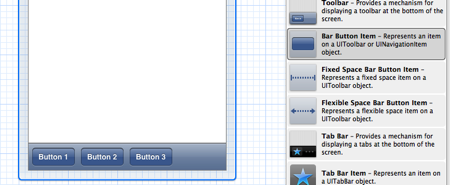
Drag Flexible Space Bar Button Items in-between each Button. Interface Builder will automatically even out the spacing for you.
Add Outlets for each of the Button Bar Items in Interface Builder.
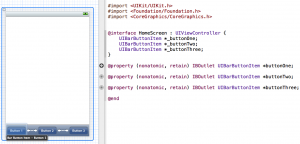
Once the Outlets are in place, save and exit Interface Builder. You can now wire up the Clicked event for these buttons in the View Controller where the UIToolBar is at.
public override void ViewDidLoad (){
base.ViewDidLoad ();
// Button One Event Handler
this.buttonOne.Clicked += (sender, e) => {
new UIAlertView (“Clicked”, “Button One Clicked”, null, “Ok”, null).Show ();
} ;
// Button Two Event Handler
this.buttonTwo.Clicked += (sender, e) => {
new UIAlertView (“Clicked”, “Button Two Clicked”, null, “Ok”, null).Show ();
} ;
// Button Three Event Handler
this.buttonThree.Clicked += (sender, e) => {
new UIAlertView (“Clicked”, “Button Three Clicked”, null, “Ok”, null).Show ();
} ;
}
Run your Project in the emulator and tryout the Buttons.
